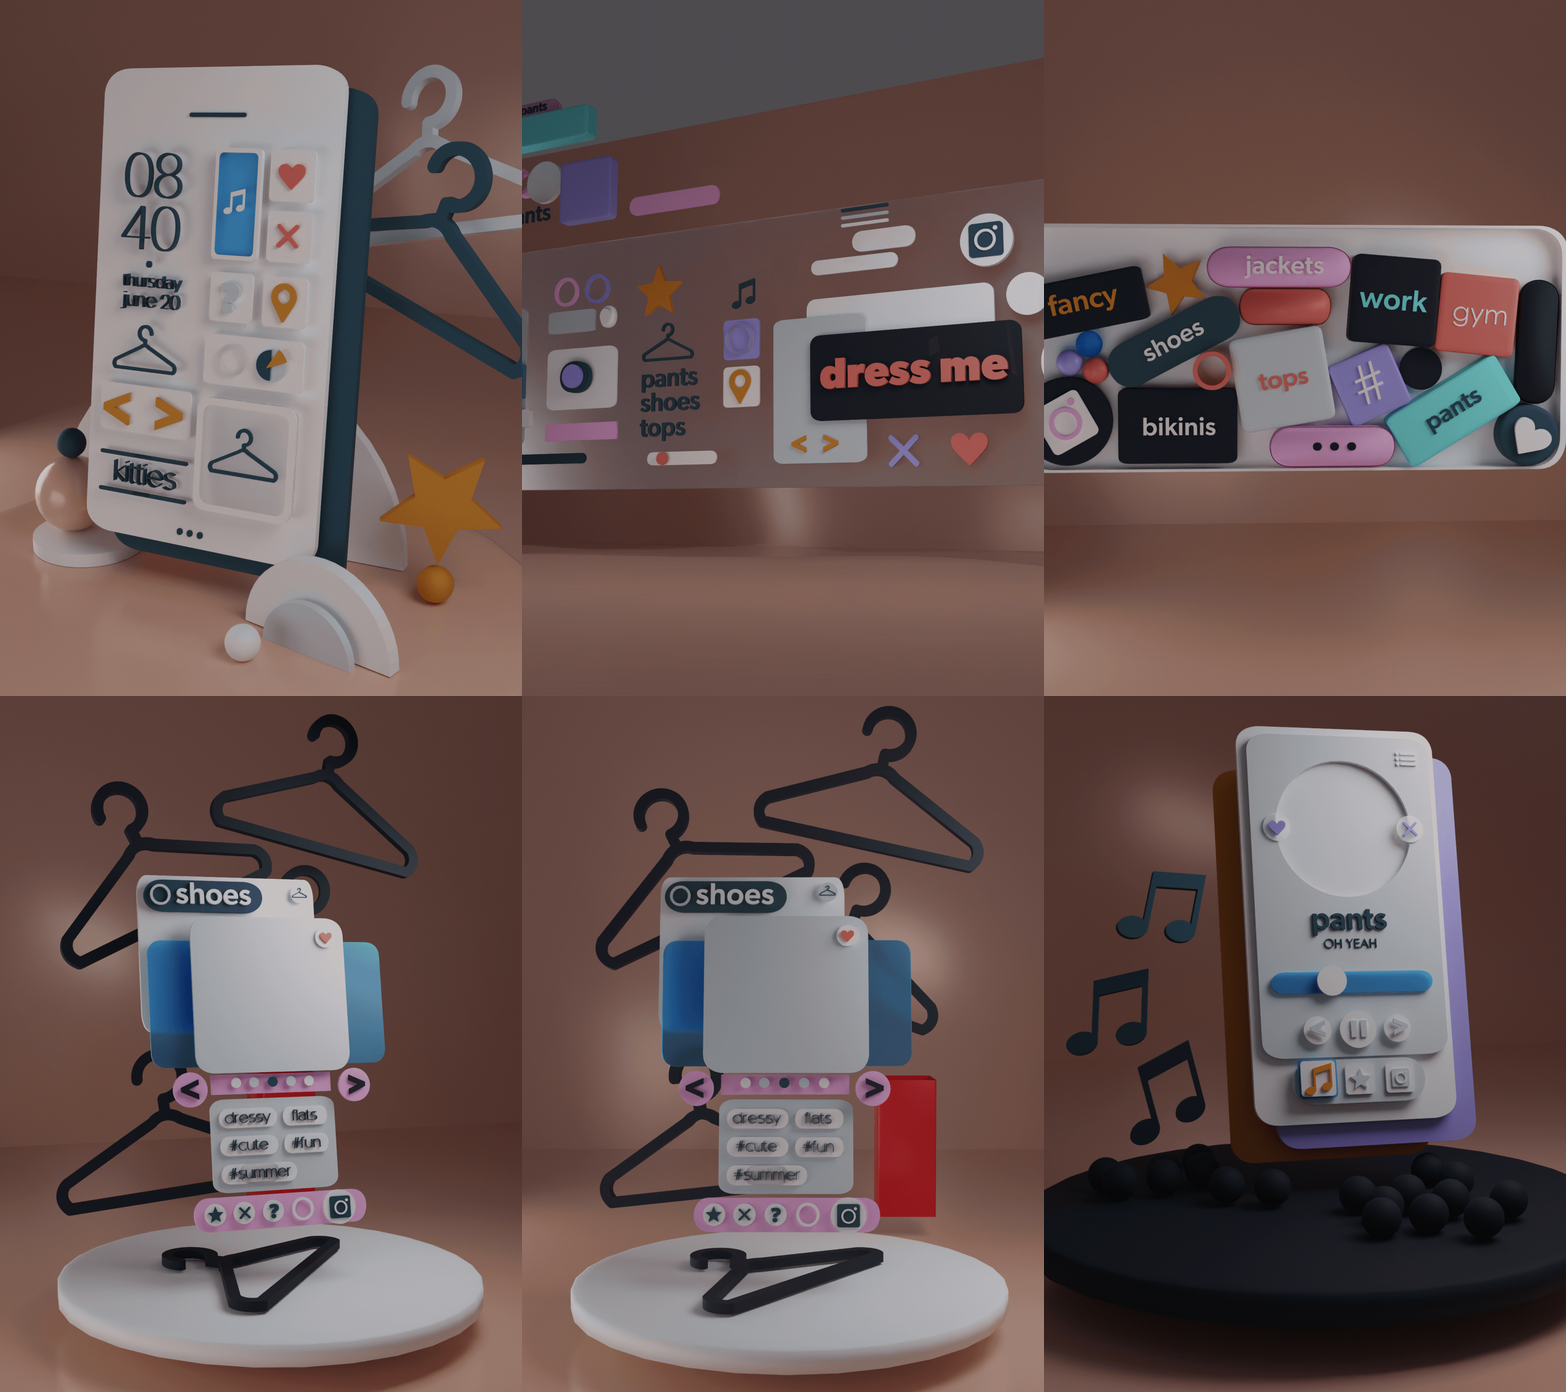
final project instructions
During the first meeting of the Final Project week, your instructor will give you a theme. You can create groups or you can work on your own.
- Document your idea so you can have a good idea of what you want to achieve. Use any "Product Requirements Document" or a "Design Document" you consider fits your idea.
- Keep the scope of the project you want to create in check. You will not create a fully fledged app in two weeks. But you could create a wonderful vertical slice that you can use to pitch your idea or showcase your skills.
- Keep the scope of the project you want to create in check. You will not create a fully fledged app in two weeks. But you could create a wonderful vertical slice that you can use to pitch your idea or showcase your skills.
- After you create a design document, the next step is simple to describe: build a prototype of your idea.
- The most important part of this Final Project is to write a devlog (you can publish it and make it an actual devlog, or you can just write it down in a document and submit that.
deliverables
- Final Project Design Document. There is no one-size-fits-all for this. Do some research and find a template you're happy with.
- A prototype or a vertical slice of your project. You can use any form you want, paper, ShapesXR, Unity, bodystorming, etc.
- A written description of the design process (or a video).

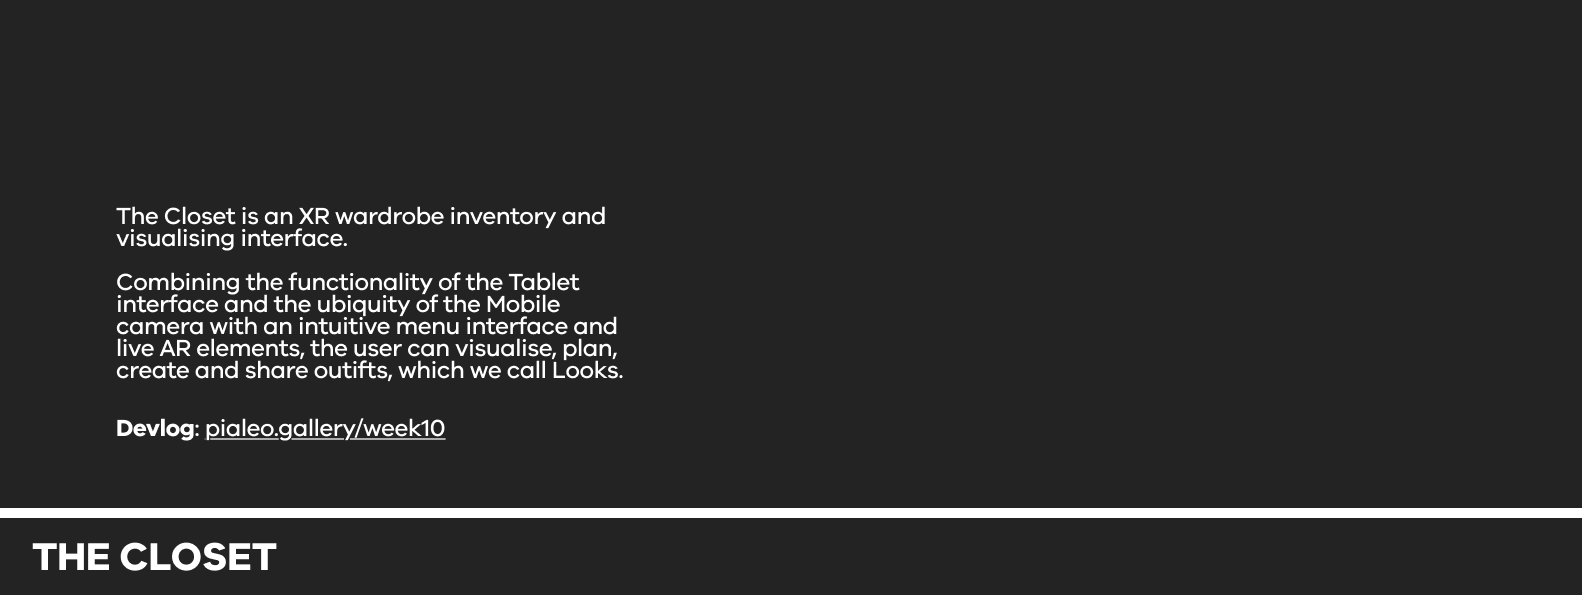
THE CLOSET
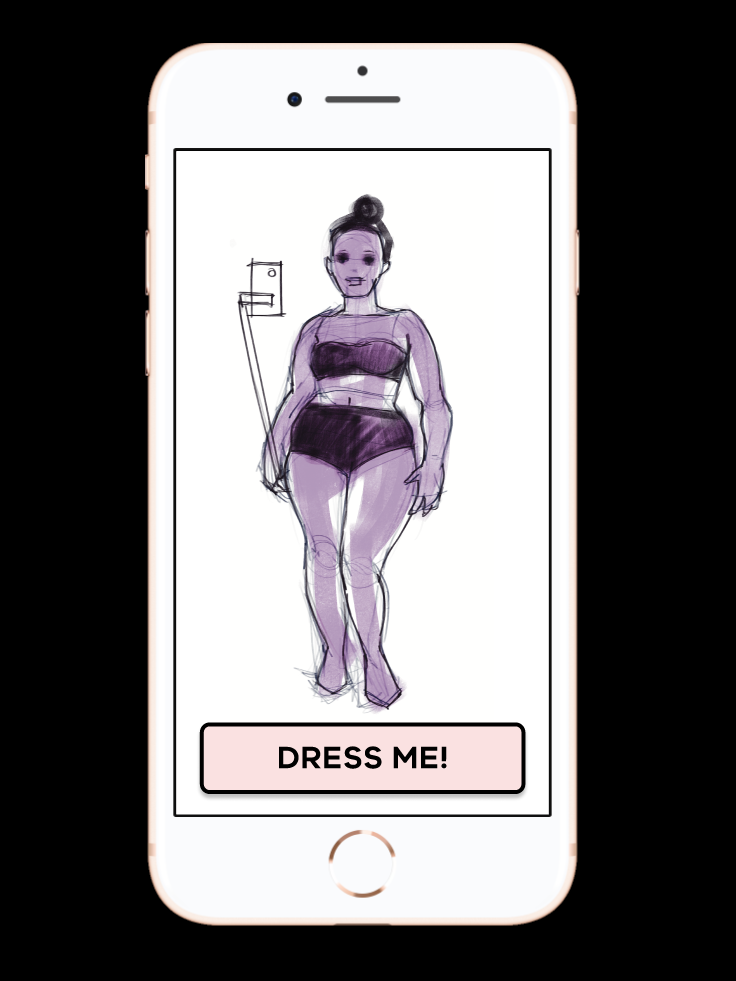
An MR wardrobe inventory for tablet + mobile phone
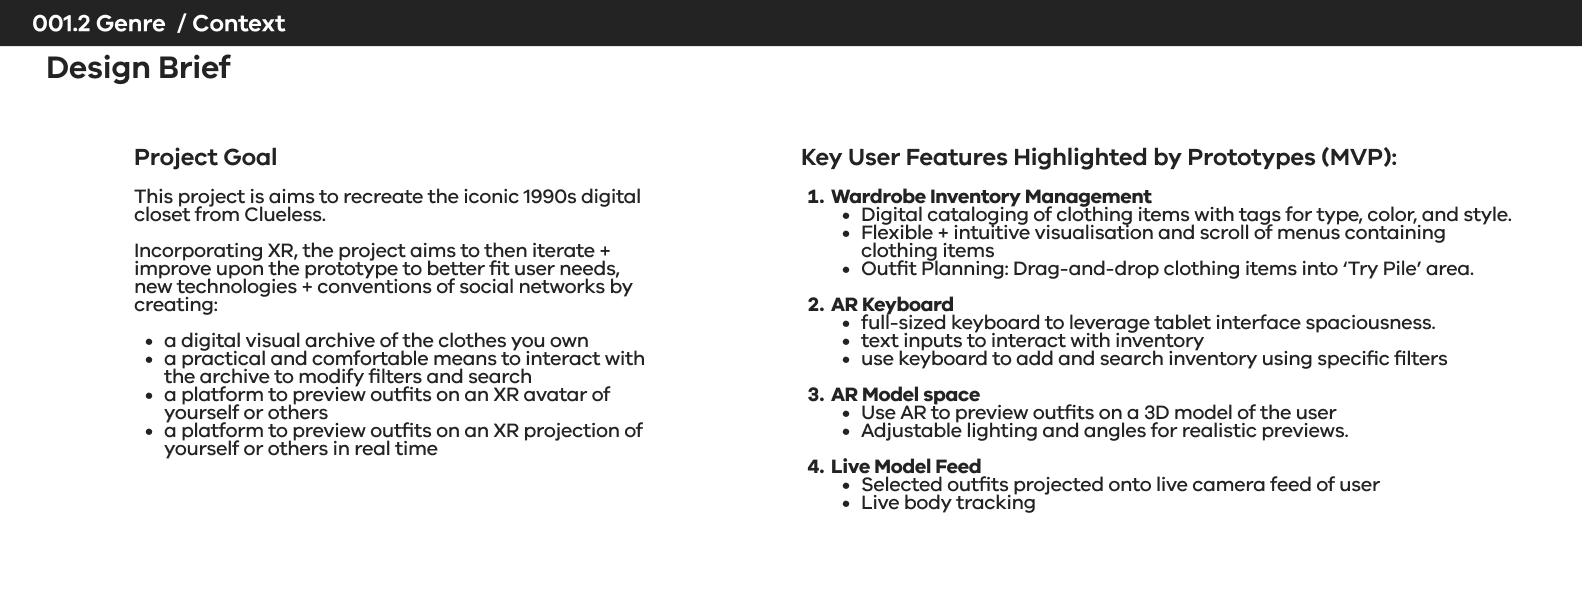
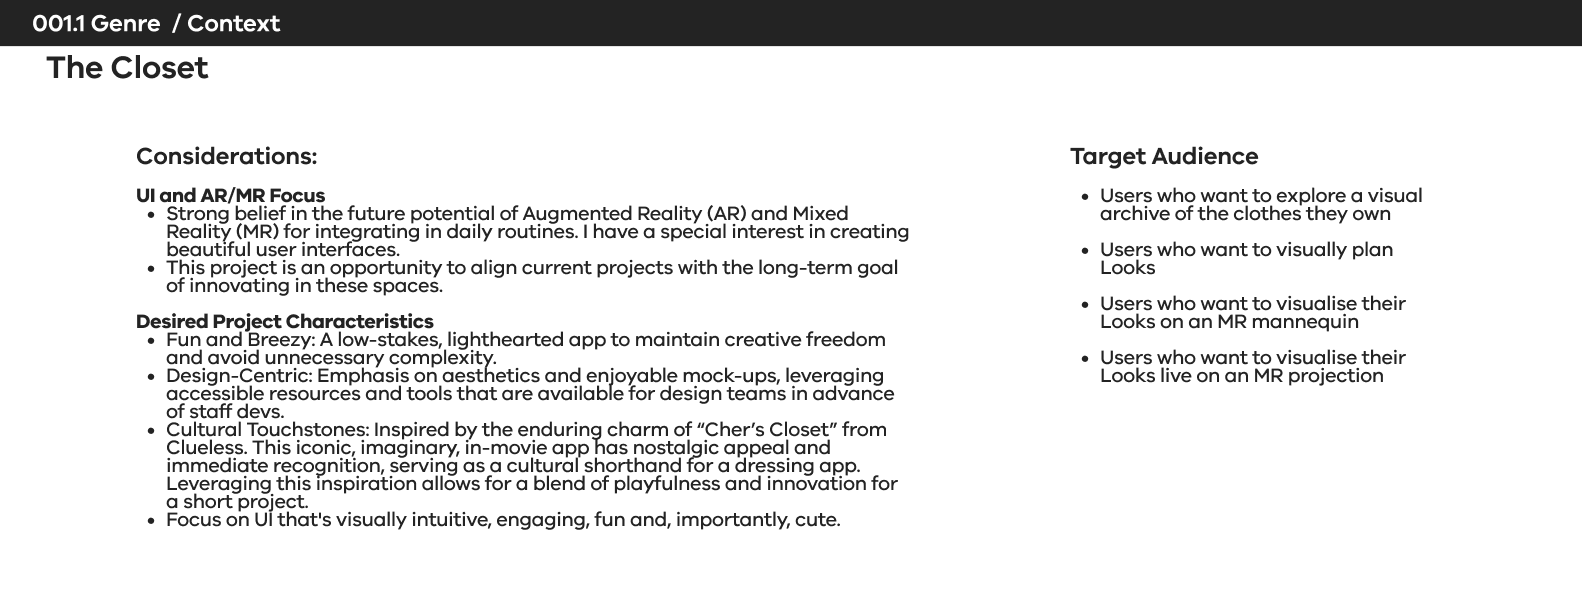
In the long-term, I’m interested in looking at UI and AR/MR, I think it has the most application in the future I want to see I wanted to make a fun and breezy app, low-stakes to avoid mission creep. Cute and fun to design. Pretty to mock-up, with lots of resources to draw upon. I liked that this concept has been around since “Clueless” in the 90s and has a kind of legendary appeal. You just have to say ‘Cher’s closet from Clueless’ and even though her actual fashion in that movie was iconic, everyone knows you’re referring to the dressing app.
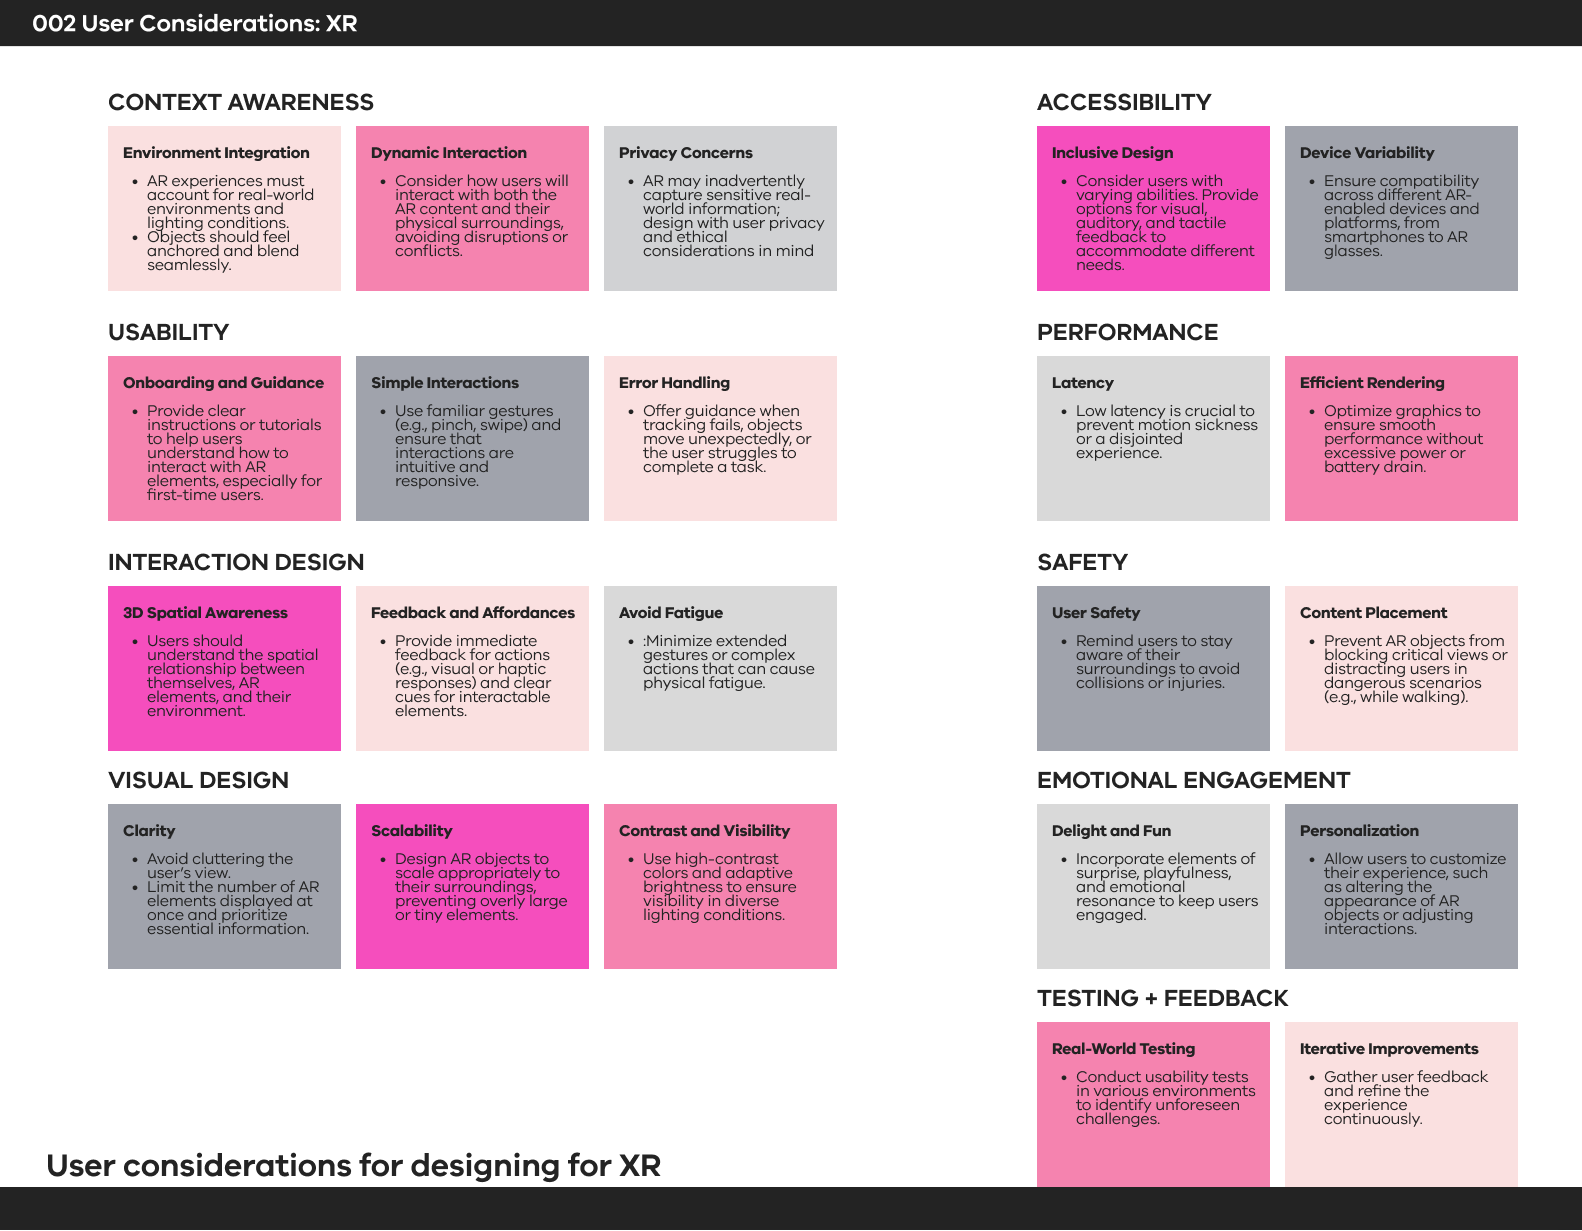
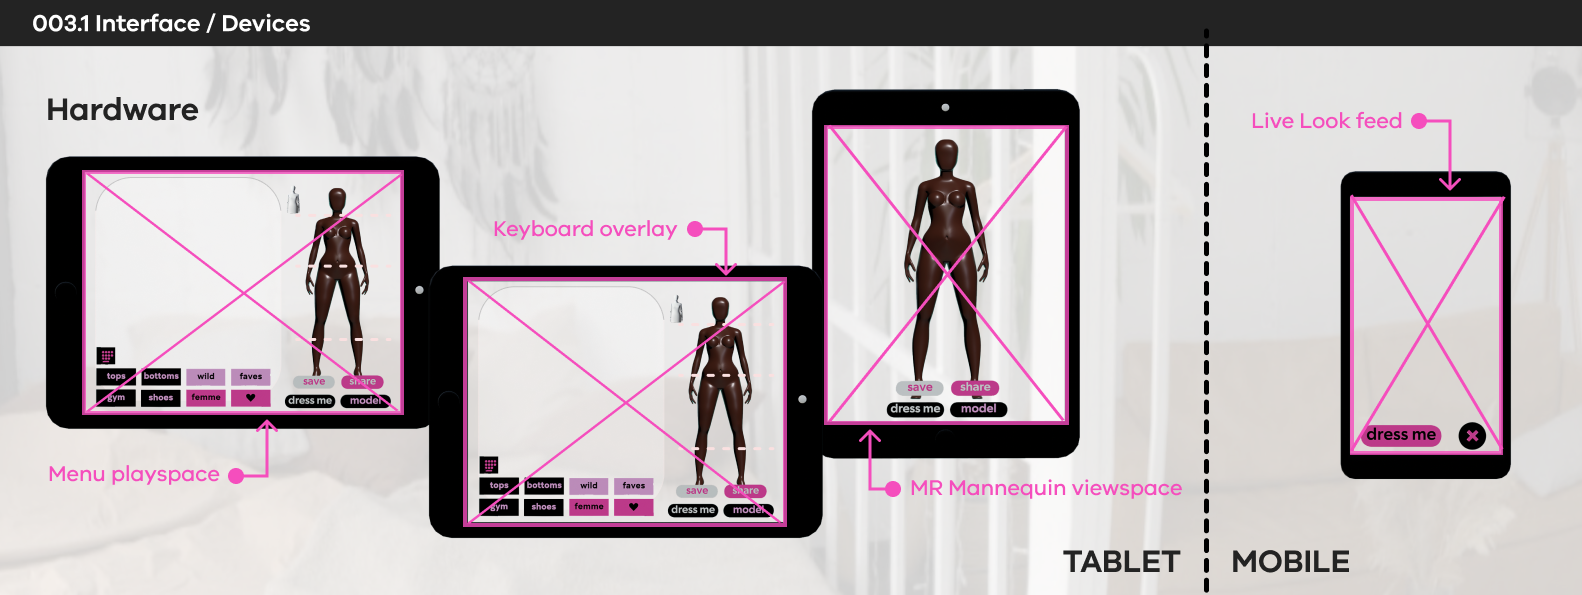
I have developed the design framework around a wardrobe inventory resource product. The product UI includes a mix of AR interactions and AR design elements to plan and view outfit combinations from items in their wardrobe. I have made some mid-fidelity prototypes to describe the user interactions and product features. The prototypes show by no means a completed product, but rather visually describe the interactions and features I think are useful for the user.
Important notes:
Building prototypes in Unity is simply too unreliable a method for a non-developer designer to utilise. I have to look for alternatives because all my time is spent trying to work around build and load errors. This completely drains my energy for critical thinking and creative design. It simply is not a practical or a workable system
.
As such, I’m using this project to look at prototyping alternatives that actually show my functionality. Maybe working in a team with developers would make Unity a feasible prototyping tool, but as a solo designer this seems to be the only pragmatic approach available.

study 1:
Menu PLAYSPACE
Menu PLAYSPACE
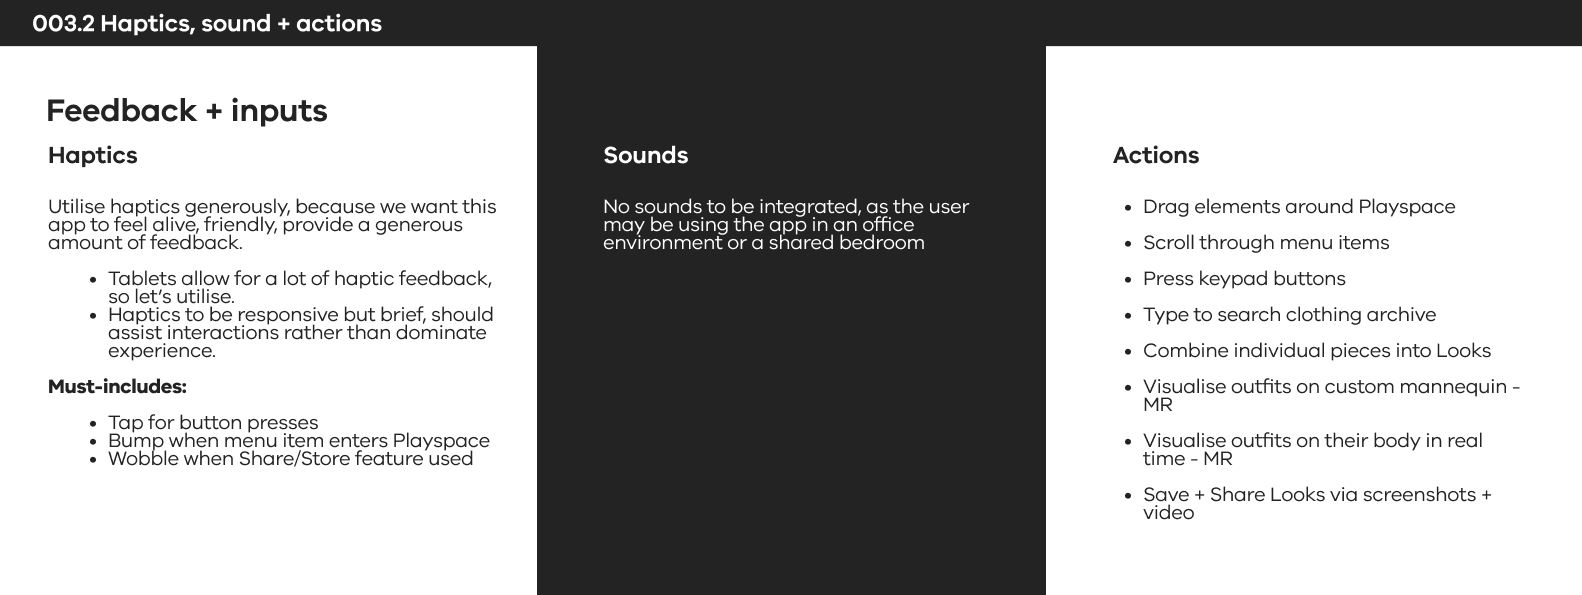
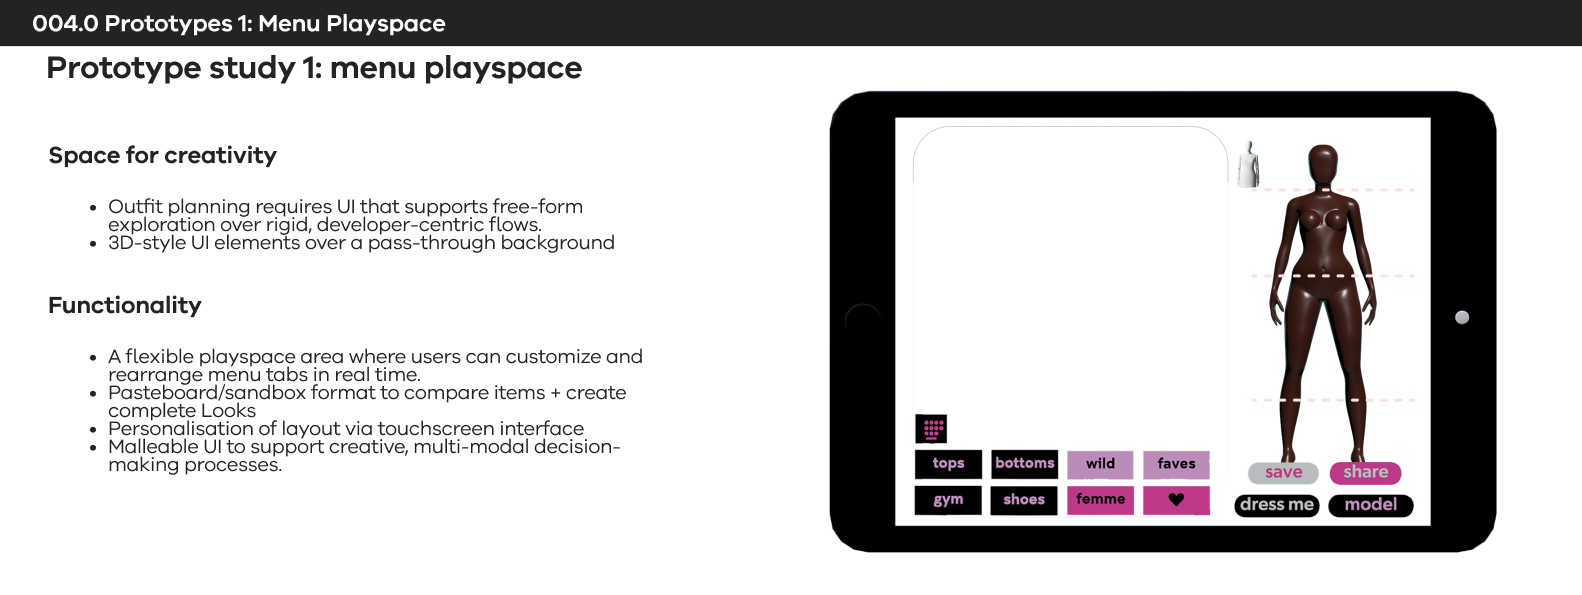
'Playspace' as a pasteboard or sandbox layout: dressing is an infinitely personalizable activity and I want to bake in a malleable user interface.
A motivating factor in all my designs is flexibility: humans are so creative and our bodies are so articulated and it infuriates me when our digital products force us into a limited user flow that favours the developer over the user. We need spaciousness to think and create, and so if we are planning an outfit we need to spread our UI out and make it malleable as our different faculties are engaged.
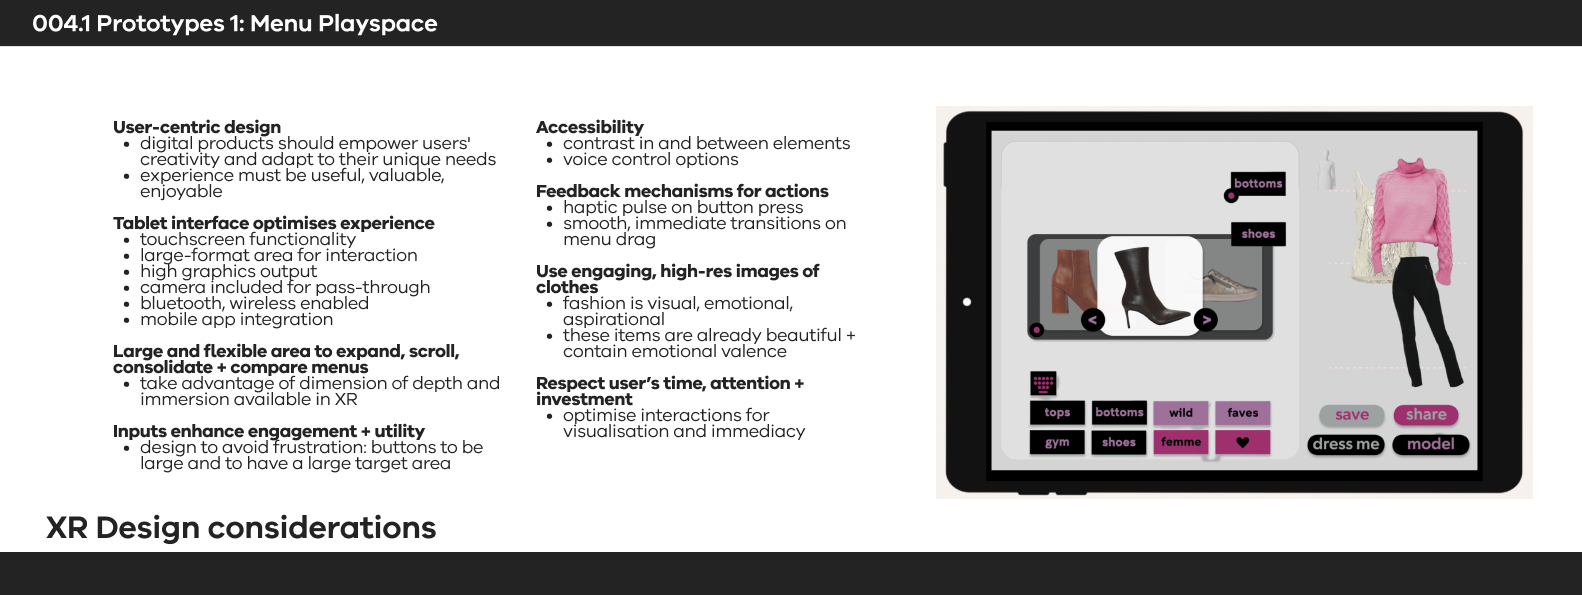
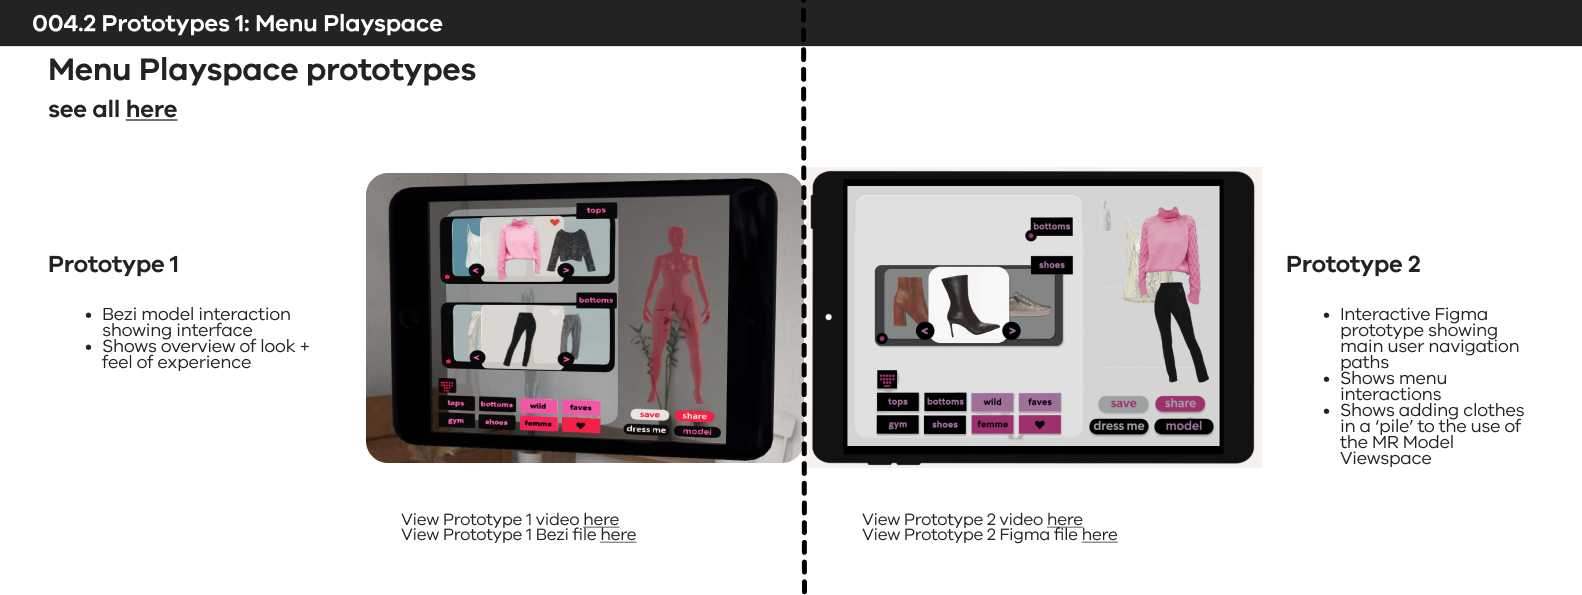
In order to show a 'sandbox' or 'corkboard' area where the user can modify their menu tabs in real time I knew that Figma could make an interactive prototype to display the concept and a simple user flow. Fortunately I was also able to make a more basic interaction in 3D in Bezi as well.
Round 1 Figma menu flow, to map out interactions and figure out how to suggest the transitions. I want to figure out a way for it to look 'more XR'.
Round 1 Bezi menu layout study. I love in near-future movies when they have a clear tablet device, and I would love to achieve that look for my prototype..


STUDY 2:
MR MANNEQUIN
MR MANNEQUIN
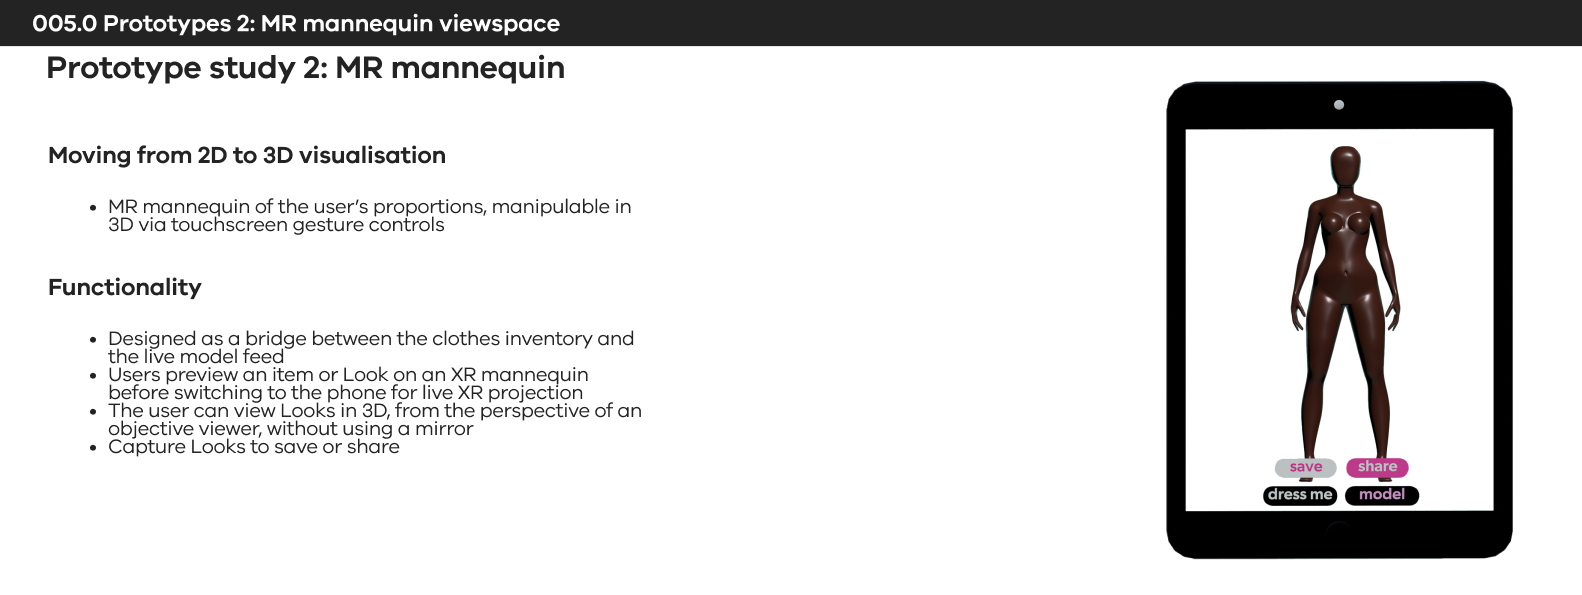
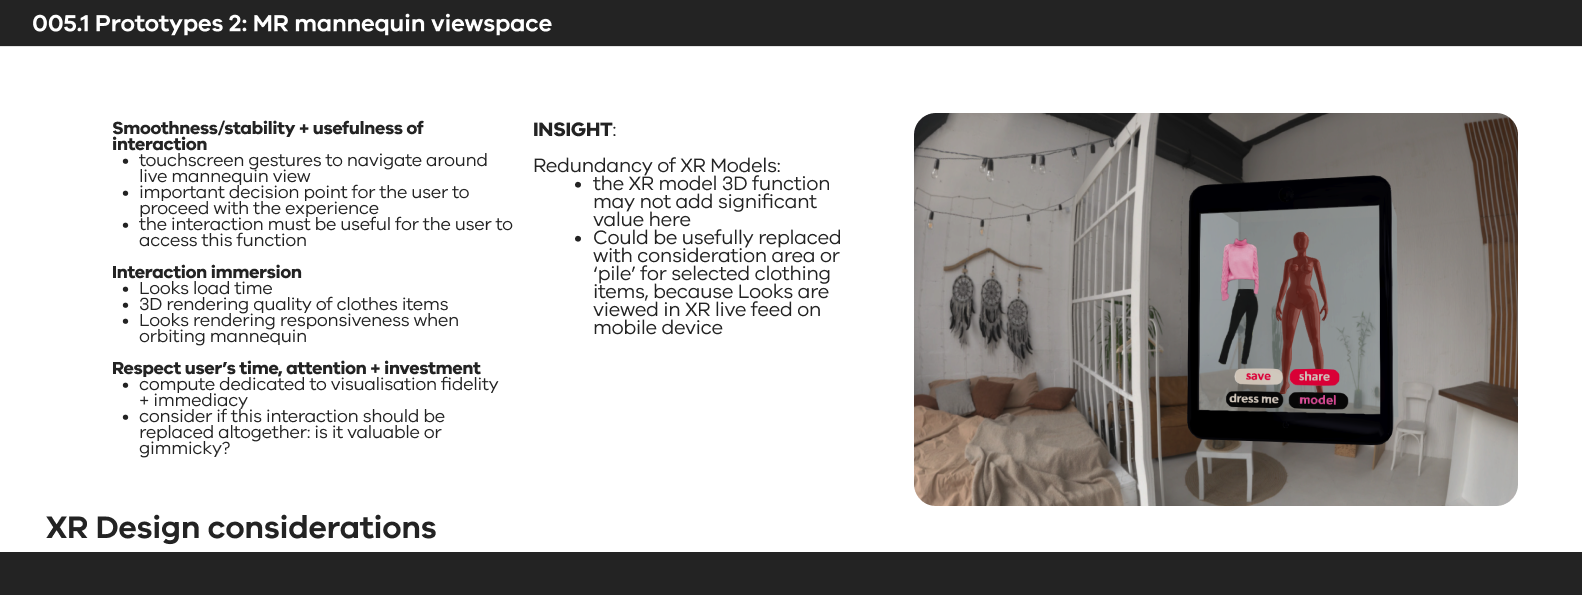
The MR Model area was conceived as a point of consolidation between the clothes inventory and the live model phone feed. The idea was that an outfit or item could be viewed in 3D on the user's tablet immediately on selection, whereas the live model projection requires the user to pose using their phone. As I'm developing out this product it's becoming apparent that the AR model component might be redundant/secondary to just a 2D image section where the selected outfit is visualised and modified before being sent directly to the live phone model feed.
Regardless, I wanted to work up this prototype to have another look at Zappar, to support an independant 3D artist (it seemed important for scope that I not get bogged down in creating the model myself), and because the app seemed to be tending toward something that could just be a digital 2D product.
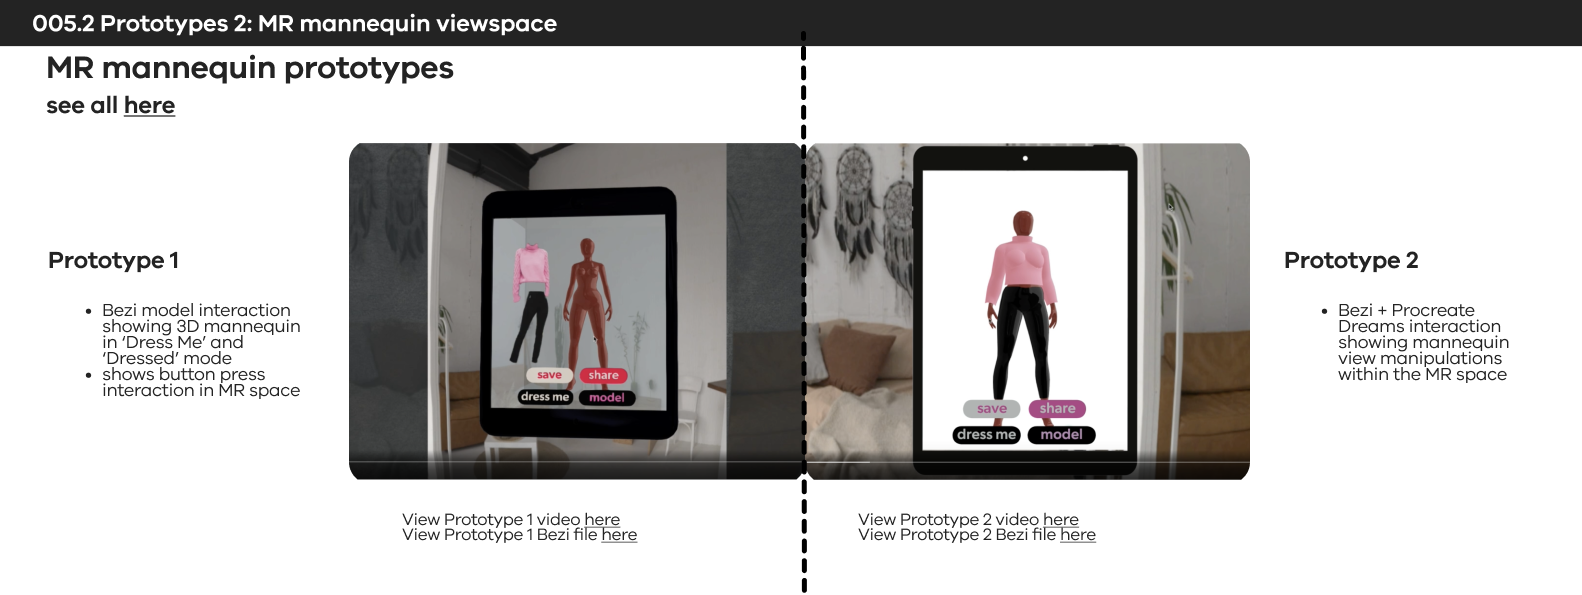
The first round of protoyping showed that AR projections into a space allowed a user to move around the model in the live space, but I wanted the
Test
Testing in Procreate AR space with 3D mannequin.
This model is far too thin, so I will have to edit her in Blender.
This model is far too thin, so I will have to edit her in Blender.
This proto is Procreate's View in AR function, which always spawns the model in unexpected places. I would like a higher-fidelity prototype showing how a user can interact with the model in place using pinch and pan gestures to zoom and navigate around to view.
Testing in Procreate workspace with edited 3D mannequin.
I realised the viewing function in both Procreate and Zappar is straight AR, and I want my user to be able to manipulate the viewing angle in MR. Back to the drawing board, but barring attempting another time-sink, no-results-guaranteed Unity build I think I might be able to mock this up in Blender using the pan function and a background image to simulate MR.


STUDY 3:
Keyboard interaction
Keyboard interaction
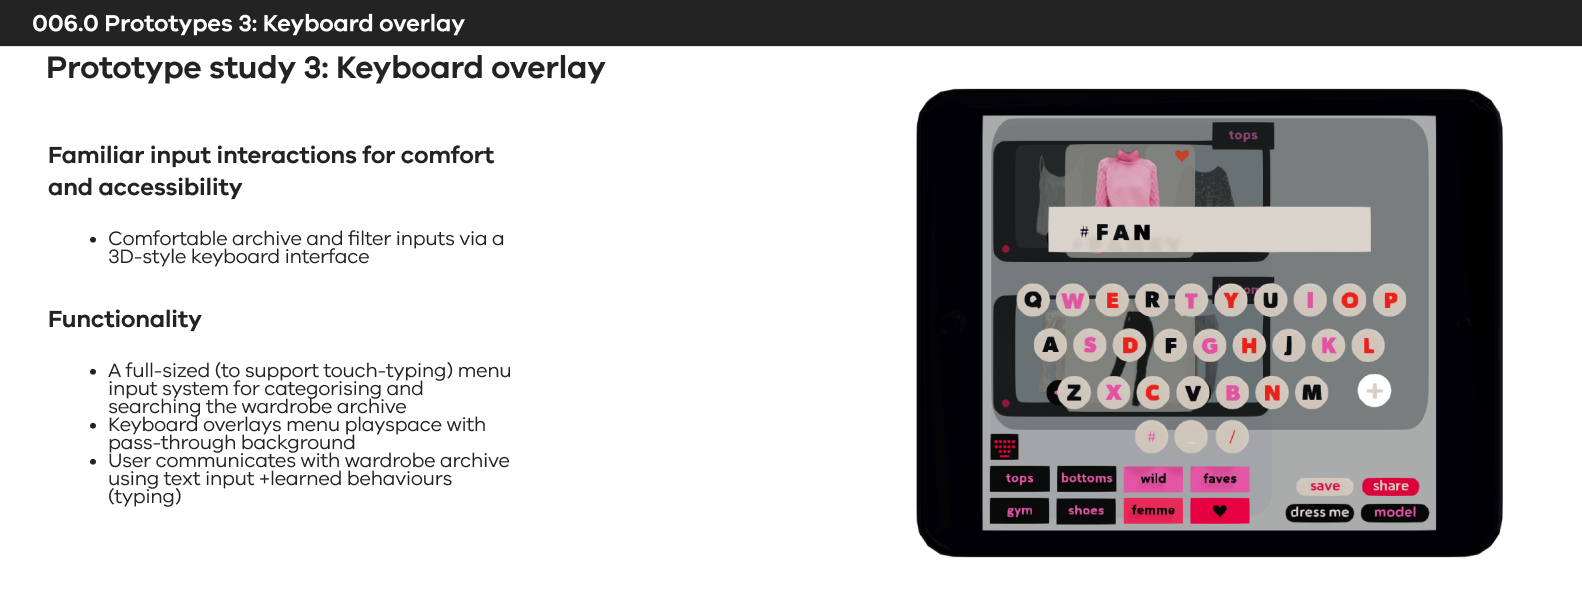
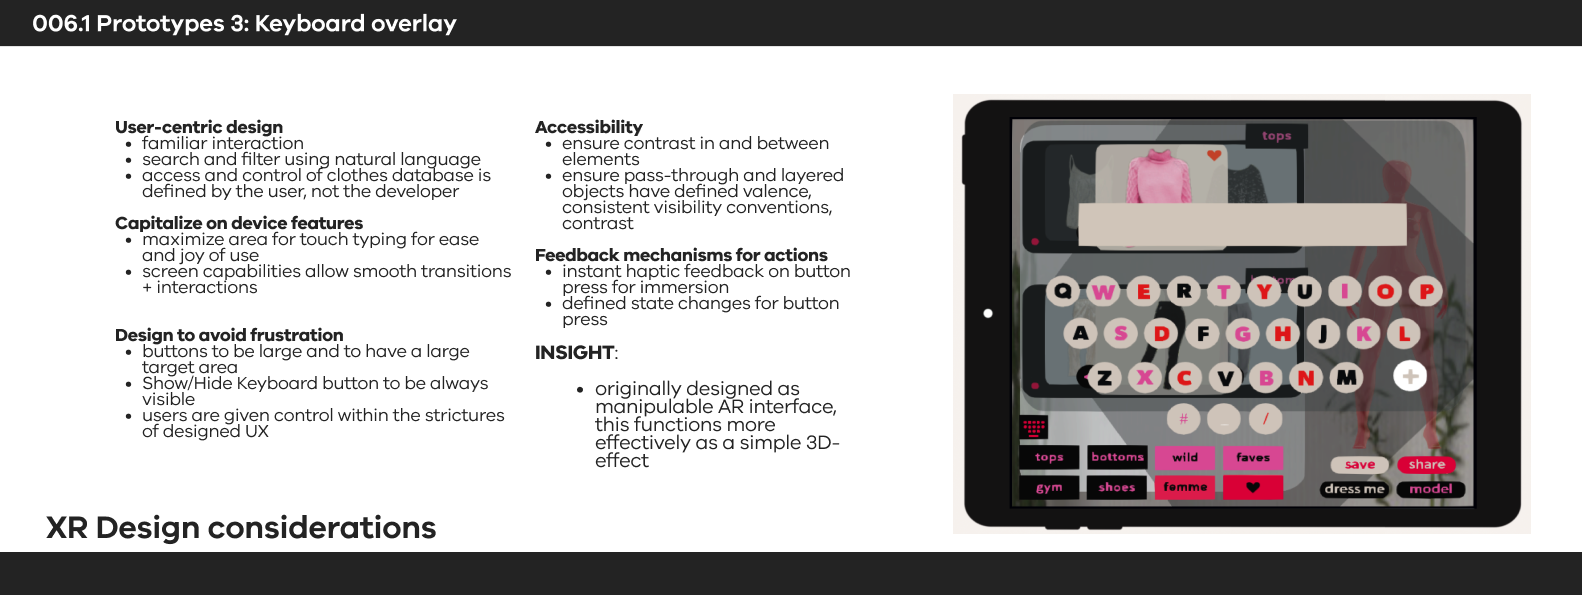
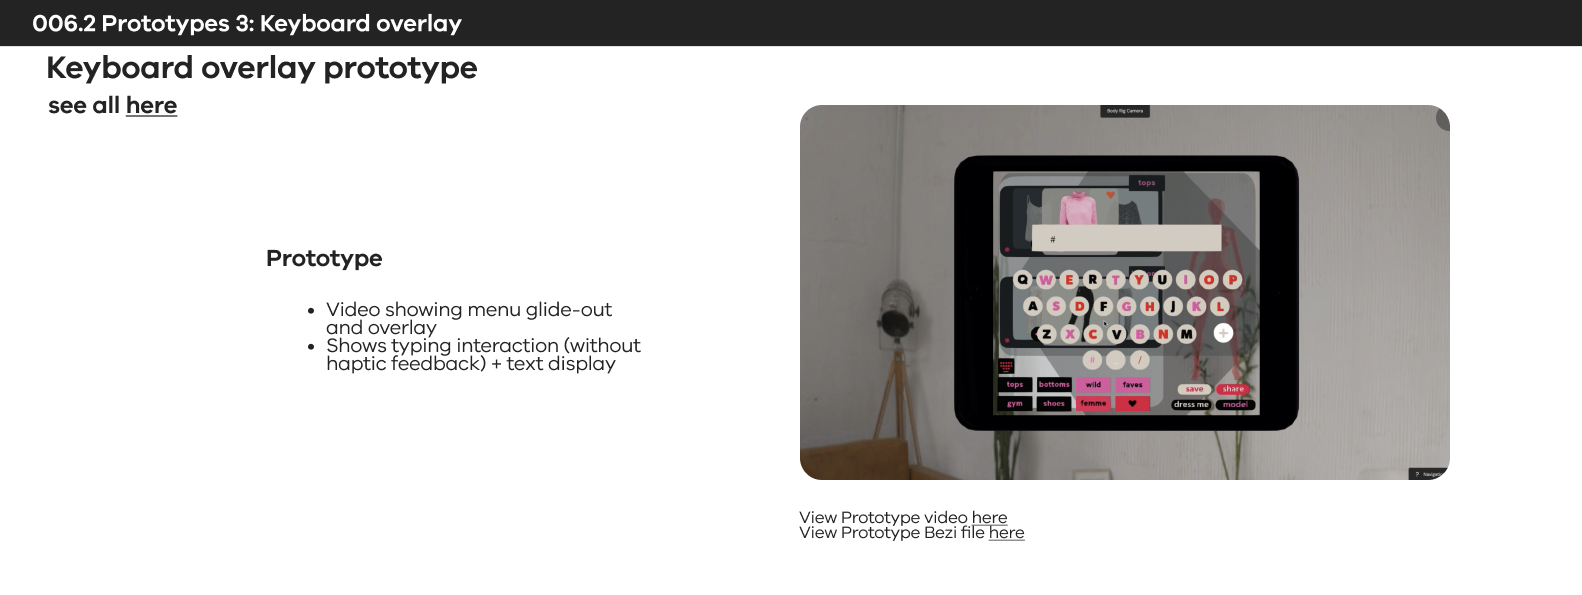
Truly I just wanted to make something that looked nice and had lovely smooth interactions. We've all seen a keyboard before -- too many, digital and physical -- but I knew I could have a guaranteed good time between Blender and Bezi and come out the other end with something adorable. A whole night off from the usual trauma of coaxing a legible and consistent result from a game engine!
Bezi prototype.
How to visualise it imposed over the menu screen, with a passthrough effect?
Bezi prototype.
Actually, this needs to be shown over the Menu Playspace interface, because that is the condition in which the user will experience it.

STUDY 4:
LIVE MODEL OUTFIT FEED
LIVE MODEL OUTFIT FEED
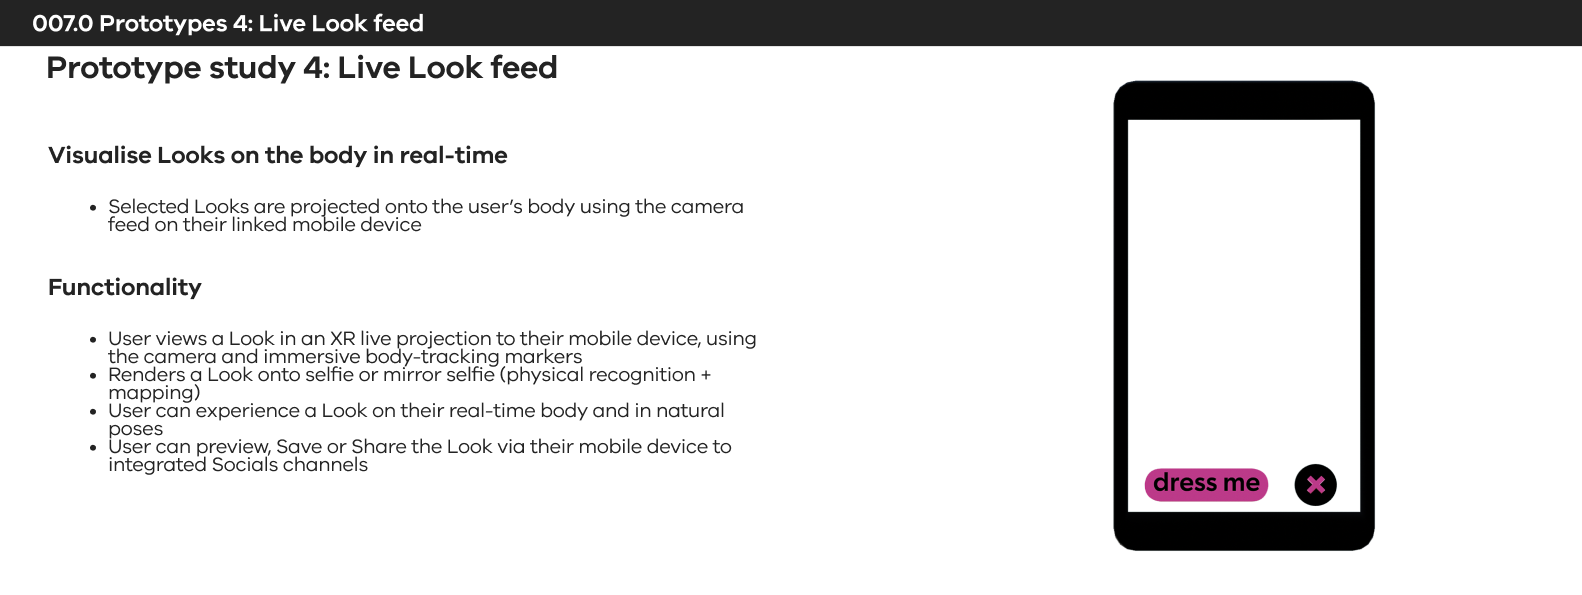
I had to rack my brains about how to prototype body-tracking interactions - this is an important feature of The Closet, and a technology which hasn't been mainstreamed by 2024. Luckily Snap has been leaning into body tracking filters, particularly for fashion. They're buggy still, but impressive considering they're out in the space miles ahead of anyone else. Their creators and ambassadors are mostly kids creating finding really clever work-arounds and teaching each other how to push the use-cases forward.
According to Snapchat their Lens Studio is sooooo easy to use but at time of writing they have pivoted to flogging their new AR Lens product and relaunched Lens Studio. Community resources and tutorials are now outdated and obscured behind many layers of promo. We're here for the AR lenses, 100%, but if we can't get results from creator platforms we can't get excited about premium products.
This interaction is jaggy at best, but as proof of concept it just passes. The technology exists and is being used, and a dedicated development team could produce a better custom product.
An interesting insight: I would like to blur/reduce the face in the live model feed projection to draw focus to just the outfit. We are so infatuated with our face reflections it can influence decisions, and I want to control for that with this interaction.
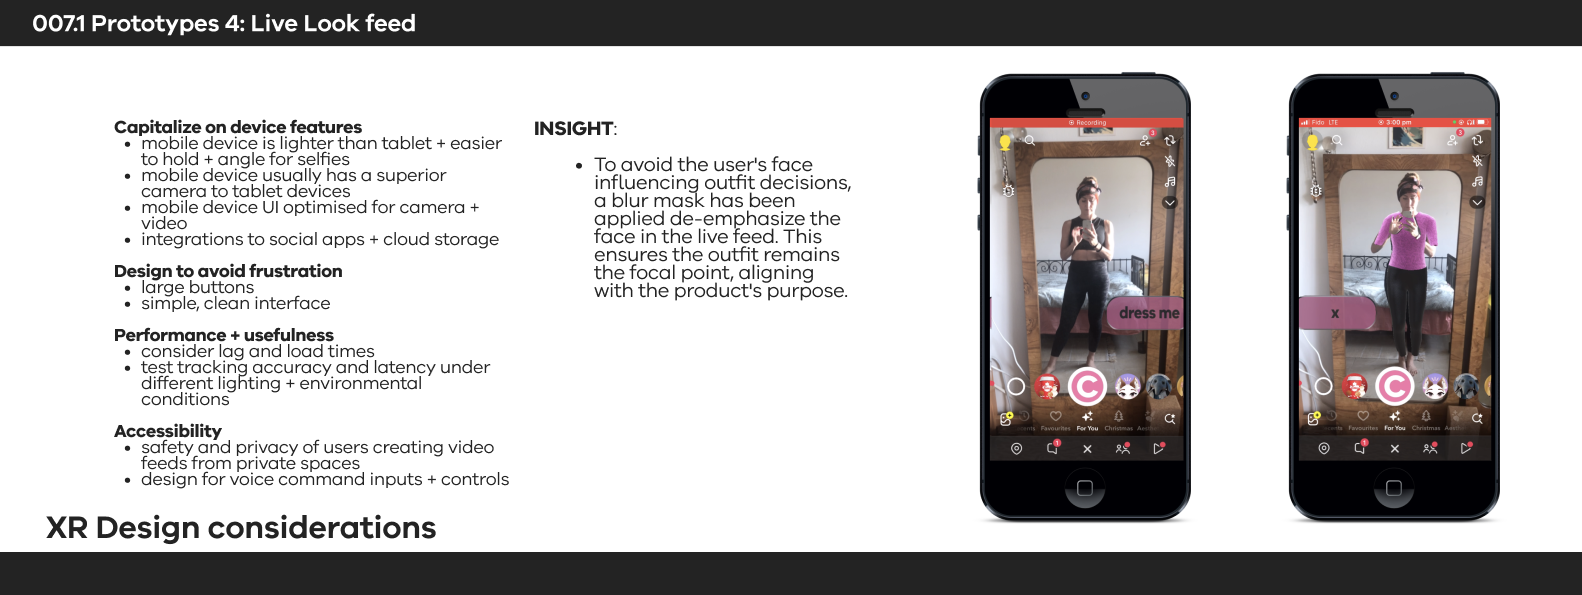
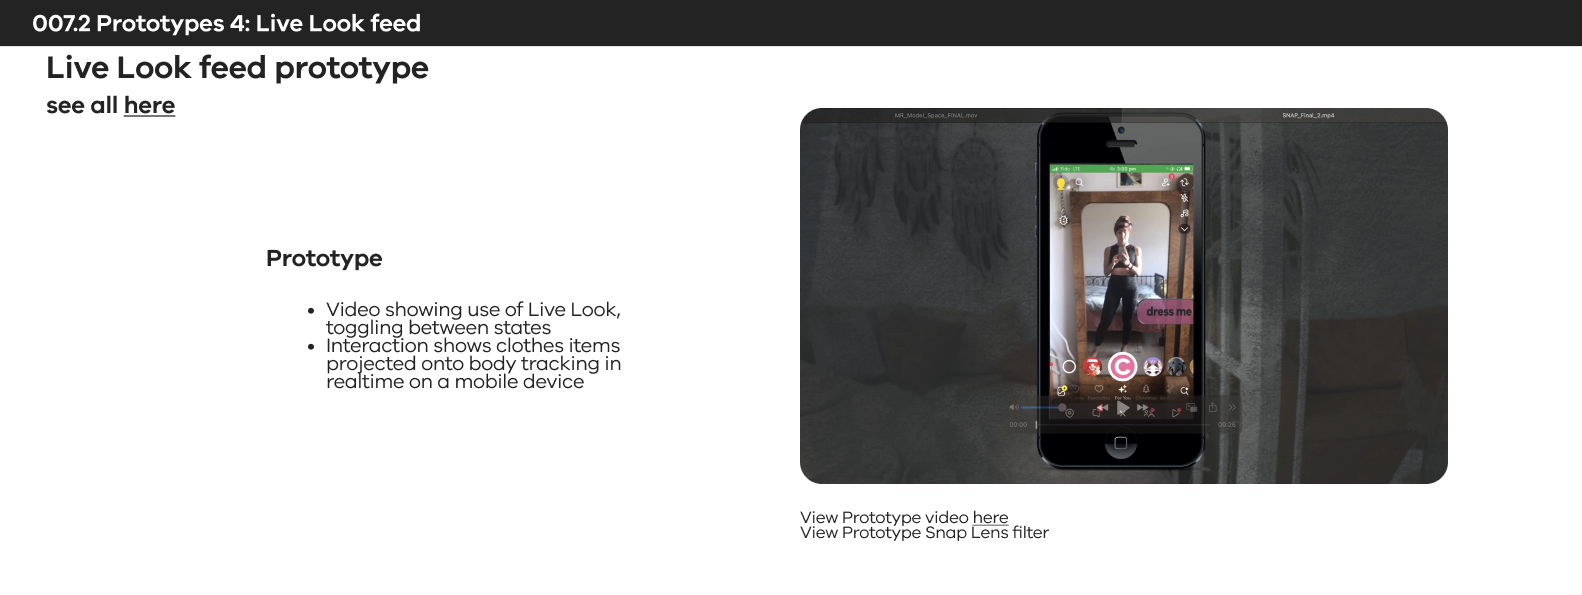
It took a couple hours just to figure out the functionality of the Try On + Garment Carousel template.
Next steps: program my own looks in for the final mockup.


